Suggested articles
Getting Started with Seemi: A Step-by-Step Guide for family
Step 1: Accessing the Attendance Module
Once your account is created by your tutor or admin, you’ll receive a Welcome to Seemi email.
Subject: Welcome to Seemi
Open the email and click the blue “Reset Your Password” button.

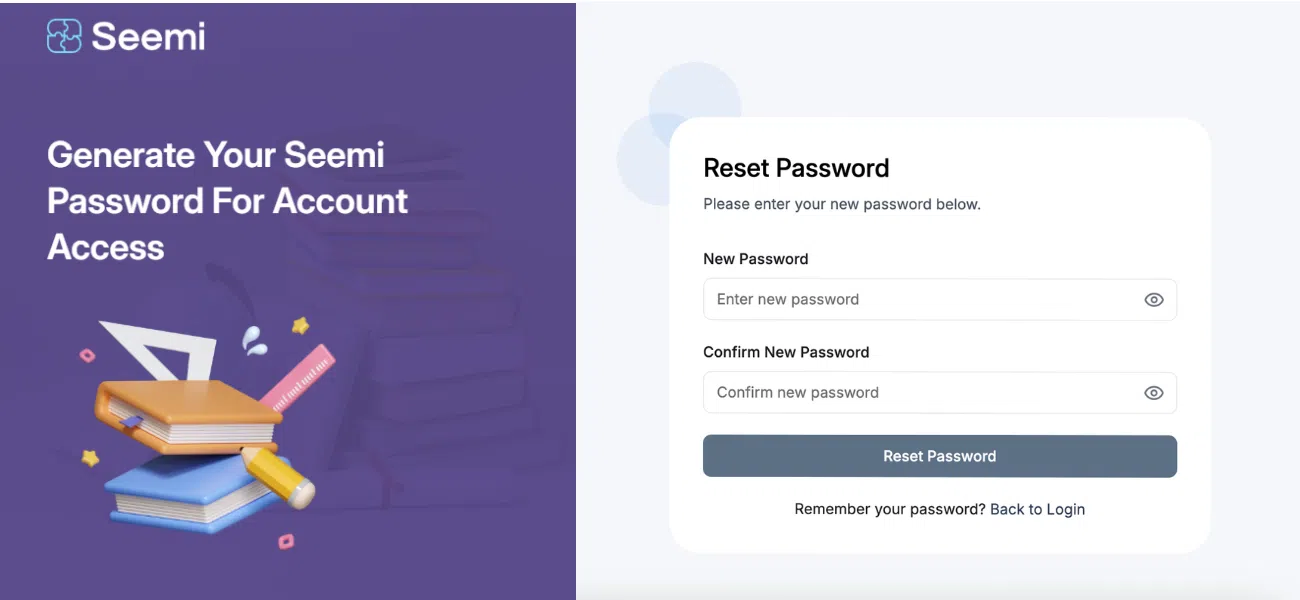
Step 2: Set Your Password
You will be redirected to the password creation screen:
Create and confirm your new password.
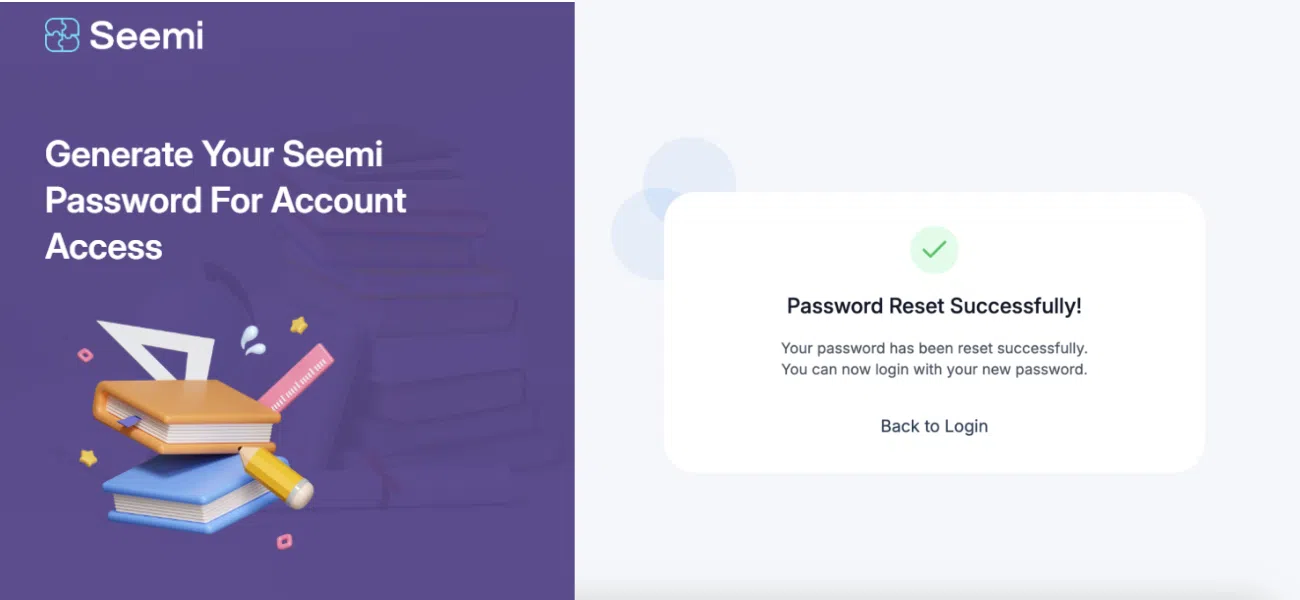
A success message will appear:
“Password Reset Successfully!”
Step 3: Verify Your Email
After resetting your password, you must verify your email address.
Seemi will show a message prompting verification.
Check your inbox and click the link in the email.
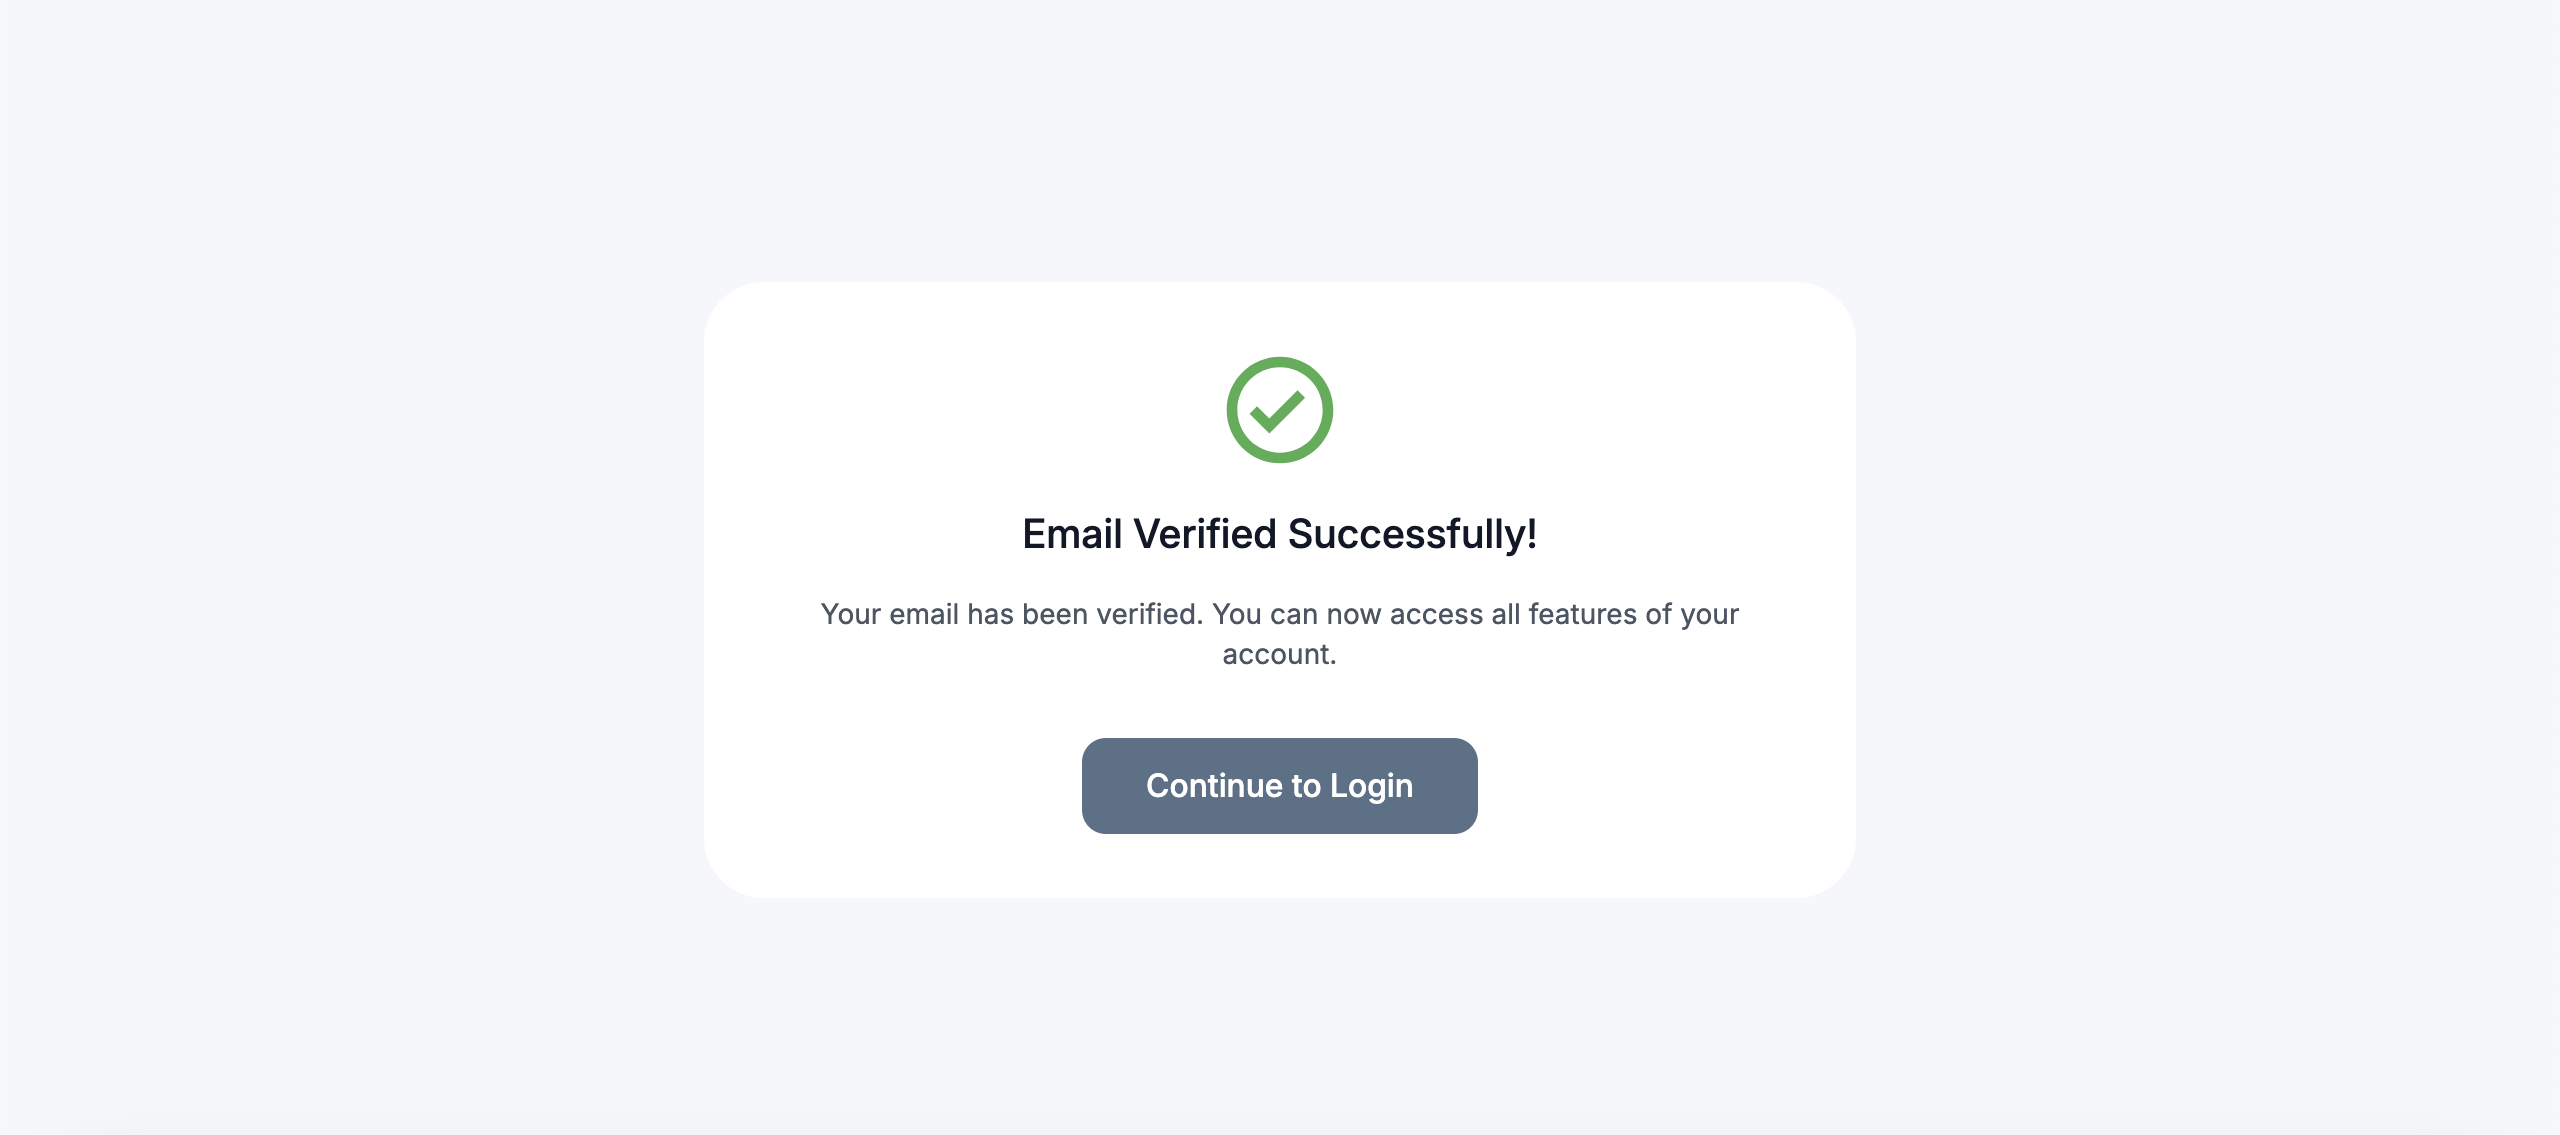
Once verified, you’ll see:
“Email Verified Successfully!”

Step 4: Log In to Your Account
Now that your account is activated:
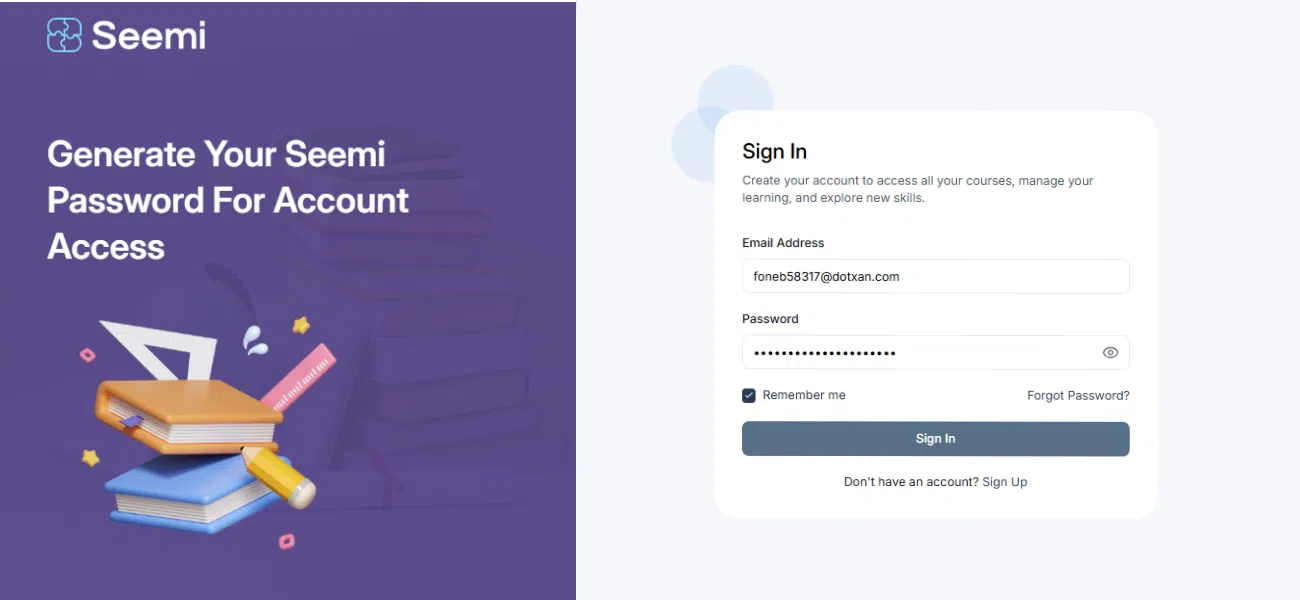
Go to the Seemi login page
Enter your email and password.
Click “Sign In” to access your family portal.
Step 5: Explore the Family Dashboard
After logging in, you’ll land on your main Dashboard. From the left-side menu, you can easily navigate between key sections:
- Home – Your dashboard overview showing revenue, sessions, attendance, and follow-ups at a glance.
- People – View and manage student, family, team, and lead profiles.
- Learning – Access class schedules, lesson materials, and shared resources.
- Marketing – View announcements, offers, and promotional updates.
- Apps – Manage connected tools and integrations.
- Settings – Update your account, security, and access preferences.
Security: Update access and security settings.

Family Profile Overview
In the Families section, you can access:
Profile tab: View and update your email, phone number, and address
Students tab: See a list of children linked to your account
Invoices: View and download billing information
Packages: Check assigned packages, session usage, and expiry details

Common Questions
You’ll receive a “Welcome to Seemi” email once your account is created by the tutor or admin. Click the Reset Your Password button to set your login details.
Check your spam or junk folder. If it’s not there, ask your tutor or admin to resend the invitation.
After creating your password, open the verification email from Seemi and click Verify Your Email. You’ll see a message confirming that your email has been verified.
Visit the Seemi login page, enter your registered email and password, and click Sign In to access your account.
You can view student progress, access invoices, check schedules, manage packages, and find resources shared by tutors or admins.
Go to the Profile tab under the Families section to update your phone number, email, or address. Click Save when finished.