
How to Add a Prospects
Step 1: Navigate to the “Prospects” Page
From the left sidebar, click on the Prospects icon.
This takes you to a list view of all current prospects.
Here you can view details like:
Client Name
Email & Phone
Status
Priority
Source
Date Added

Step 2: Open the “Add Prospect” Form
On the top right corner of the Prospects page, click the “+” (Add) button.
A Pop up form will appear, titled “Add Student.”

Step 3: Fill in the Student Details
Fill out the following fields in the form:
| Step | Section | Instruction / Description |
|---|---|---|
| 1 | Name | Enter the full name of the user. Required ✅ |
| 2 | Enter a valid email address. Used for login & communication. Required ✅ | |
| 3 | Mobile | Enter the user’s mobile number. Required ✅ |
| 4 | Phone | Optional secondary phone number. Not required ❌ |
| 5 | Status | Choose user status: Registered, Active, etc. Required ❌ |
Note: Fields marked with a red asterisk * are mandatory.
Step 4: Save the Prospect
Once you’ve filled all required fields, click the “Save” button at the bottom of the form.
The new prospect will now appear in the list.
Success Tip: Ensure that you have selected all required fields; otherwise, the system may not let you proceed.
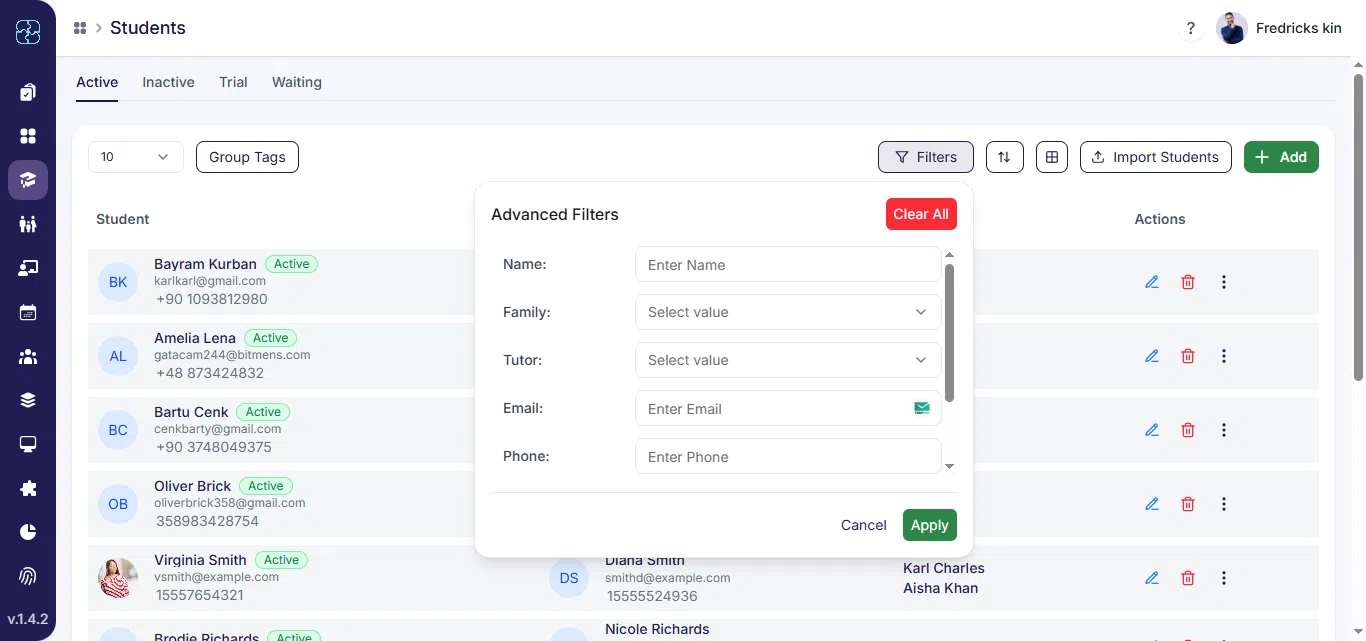
Step 5: Use Filters and Sorting
At the top right of the Prospects table:
Filter by Columns
Click the filter funnel icon next to the column headers (Status, Priority, Source, etc.).
Select a specific value (e.g., filter only prospects with “Medium” priority or “Registered” status).
This allows you to narrow down the list based on criteria important to you.
Sort Columns
Click the column headers (e.g., Date, Priority) to sort ascending or descending.
Sorting helps to prioritize your view—for example, by newest leads or highest priority.

Step 6: Add as Student & Delete Prospect
Each row has two action icons
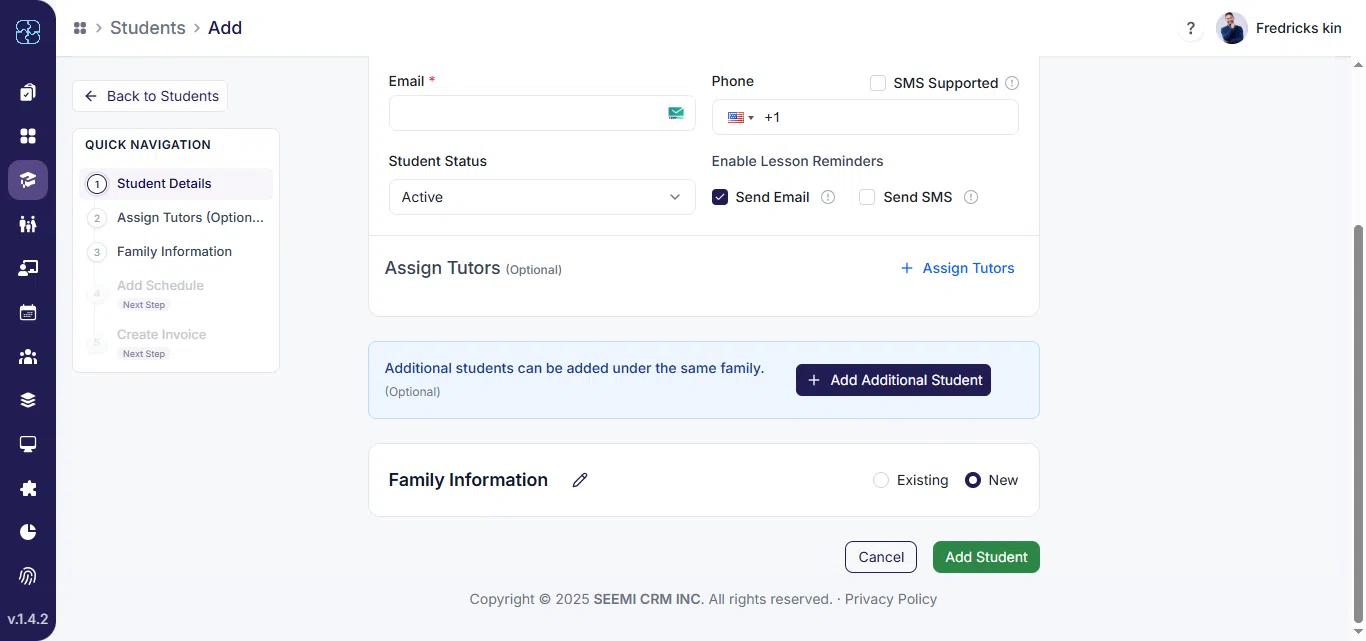
Add as Student:
Click to choose between assigning to an Existing Family or creating a New Family.
Existing Family option prompts for selection.
New Family requires you to fill in full family details.
Delete Student:
- Clicking shows a confirmation popup.
You can confirm by clicking Delete, or cancel the action.

Step 7: Pagination and View Control
Entries per Page:
Use the dropdown at the bottom-left to choose how many entries to display per page (e.g., 5, 10, 20, 30).
Pagination:
Navigate between pages using the arrows and page numbers at the bottom-right.

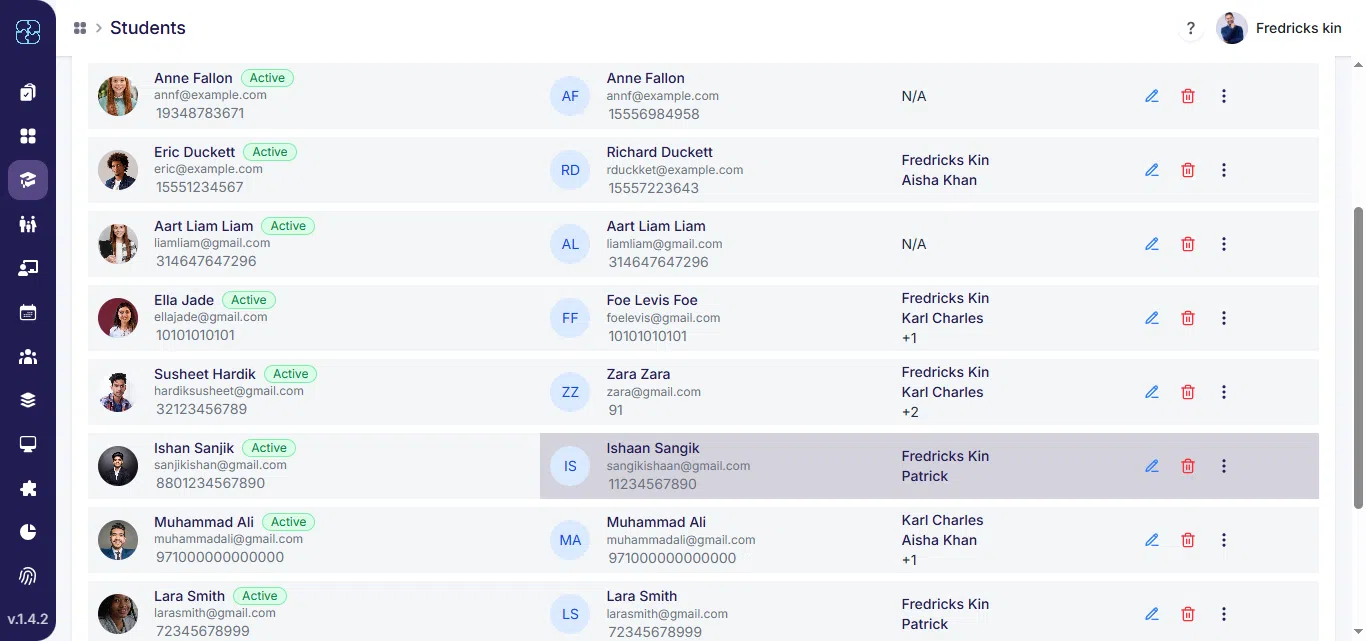
Step 8: Student Detail View
Clicking on any Student entry opens the Student Detail View, where you can perform additional actions specific to that individual.
Add Notes:
Log notes related to the prospect, such as meeting summaries, call details, or status updates.

Compose Message:
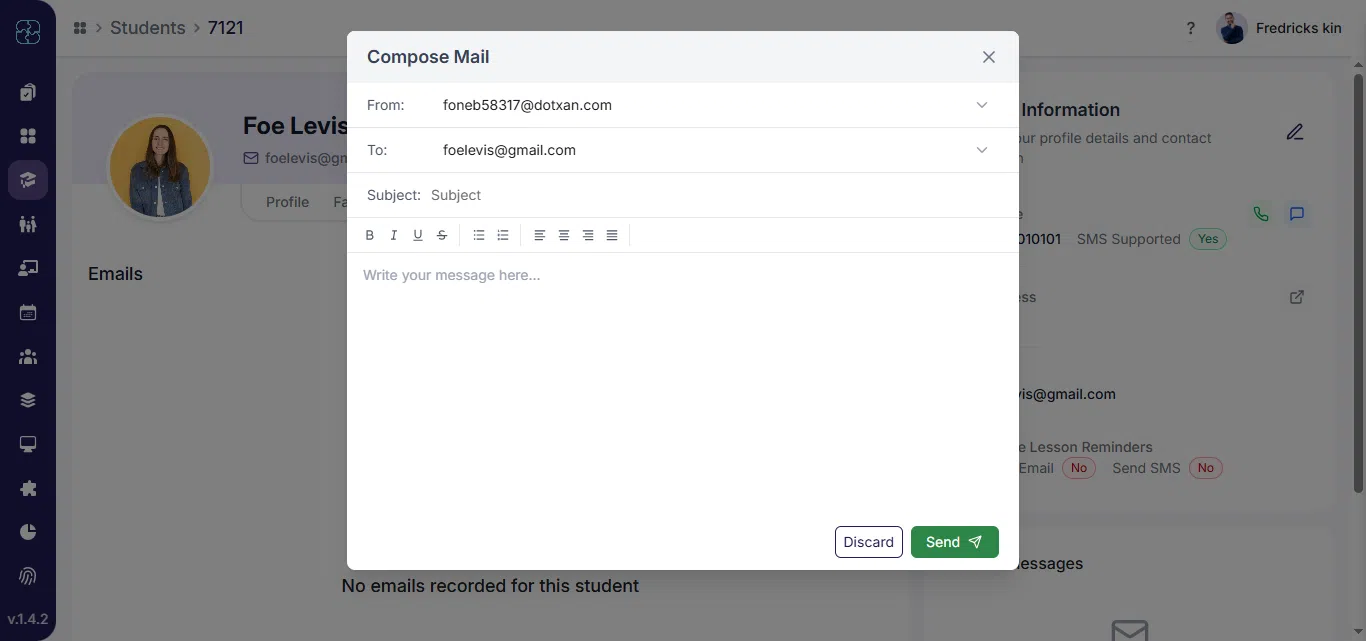
Click the email icon to open a message composer and send an email directly to the prospect.
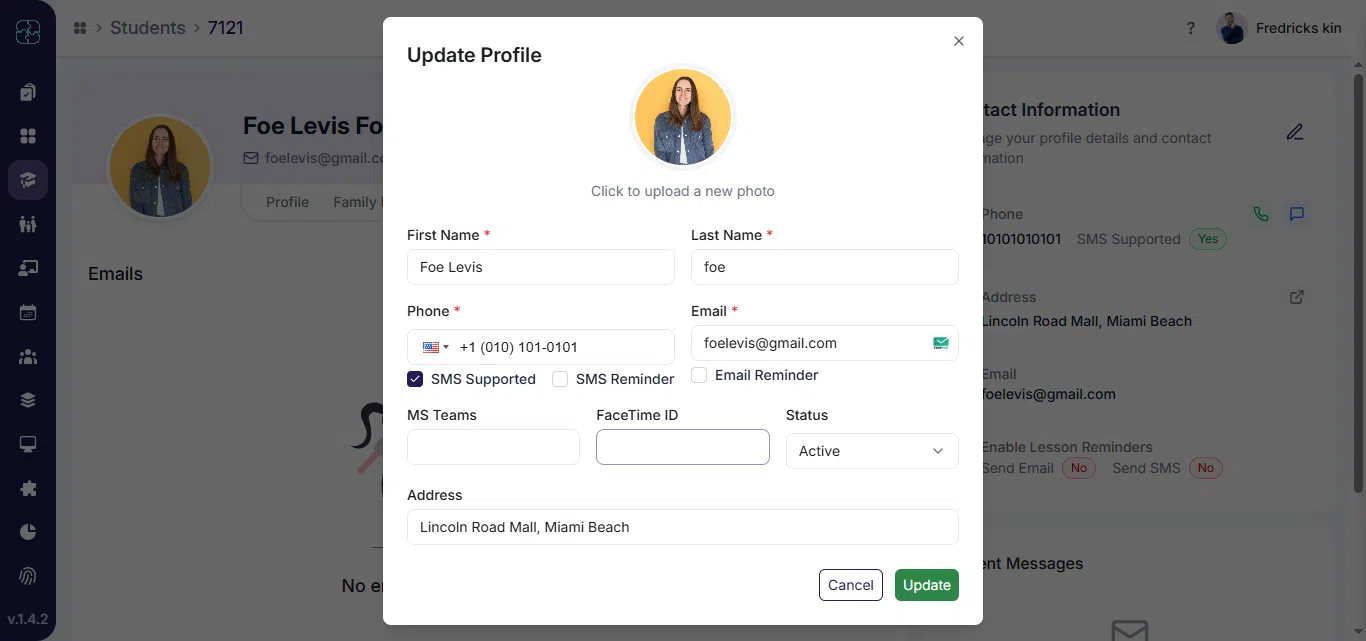
Update Prospect:
You can edit the prospect’s contact details, status, priority, or any other related information.
Common Questions
You can access the Prospects section from the left sidebar on your dashboard. It opens a complete list of all existing prospects with their name, email, phone, and status details.
Click the “+” button on the top right of the Prospects page to open the Add Prospect form. Fill in the required fields such as name, email, mobile, status, and priority, then click Save to add the new record.
The required fields include Name, Email, Mobile, Status, Priority, and Source. Optional fields like country, time zone, and remarks can be filled later.
Use the filter icons above each column to narrow results by criteria such as Status, Priority, or Source. You can also click on column headers like Date or Priority to sort them in ascending or descending order.
This option lets you convert a prospect into a student record. You can either assign the student to an Existing Family or create a New Family profile before saving.
To delete a prospect, click the delete icon and confirm the action in the popup. To update, open the prospect’s detail view and edit their contact details, notes, or priority before saving your changes.